
Your Go-To Resource for Roofing Tips and Insights
Expert Advice to Protect and Enhance Your Home
Stay informed with our helpful blog posts covering roofing, siding, and home maintenance topics. At
D & B Services, we’re not just here to provide exceptional craftsmanship—we’re here to share our knowledge and help you make informed decisions about your home.
Featured Blog Posts
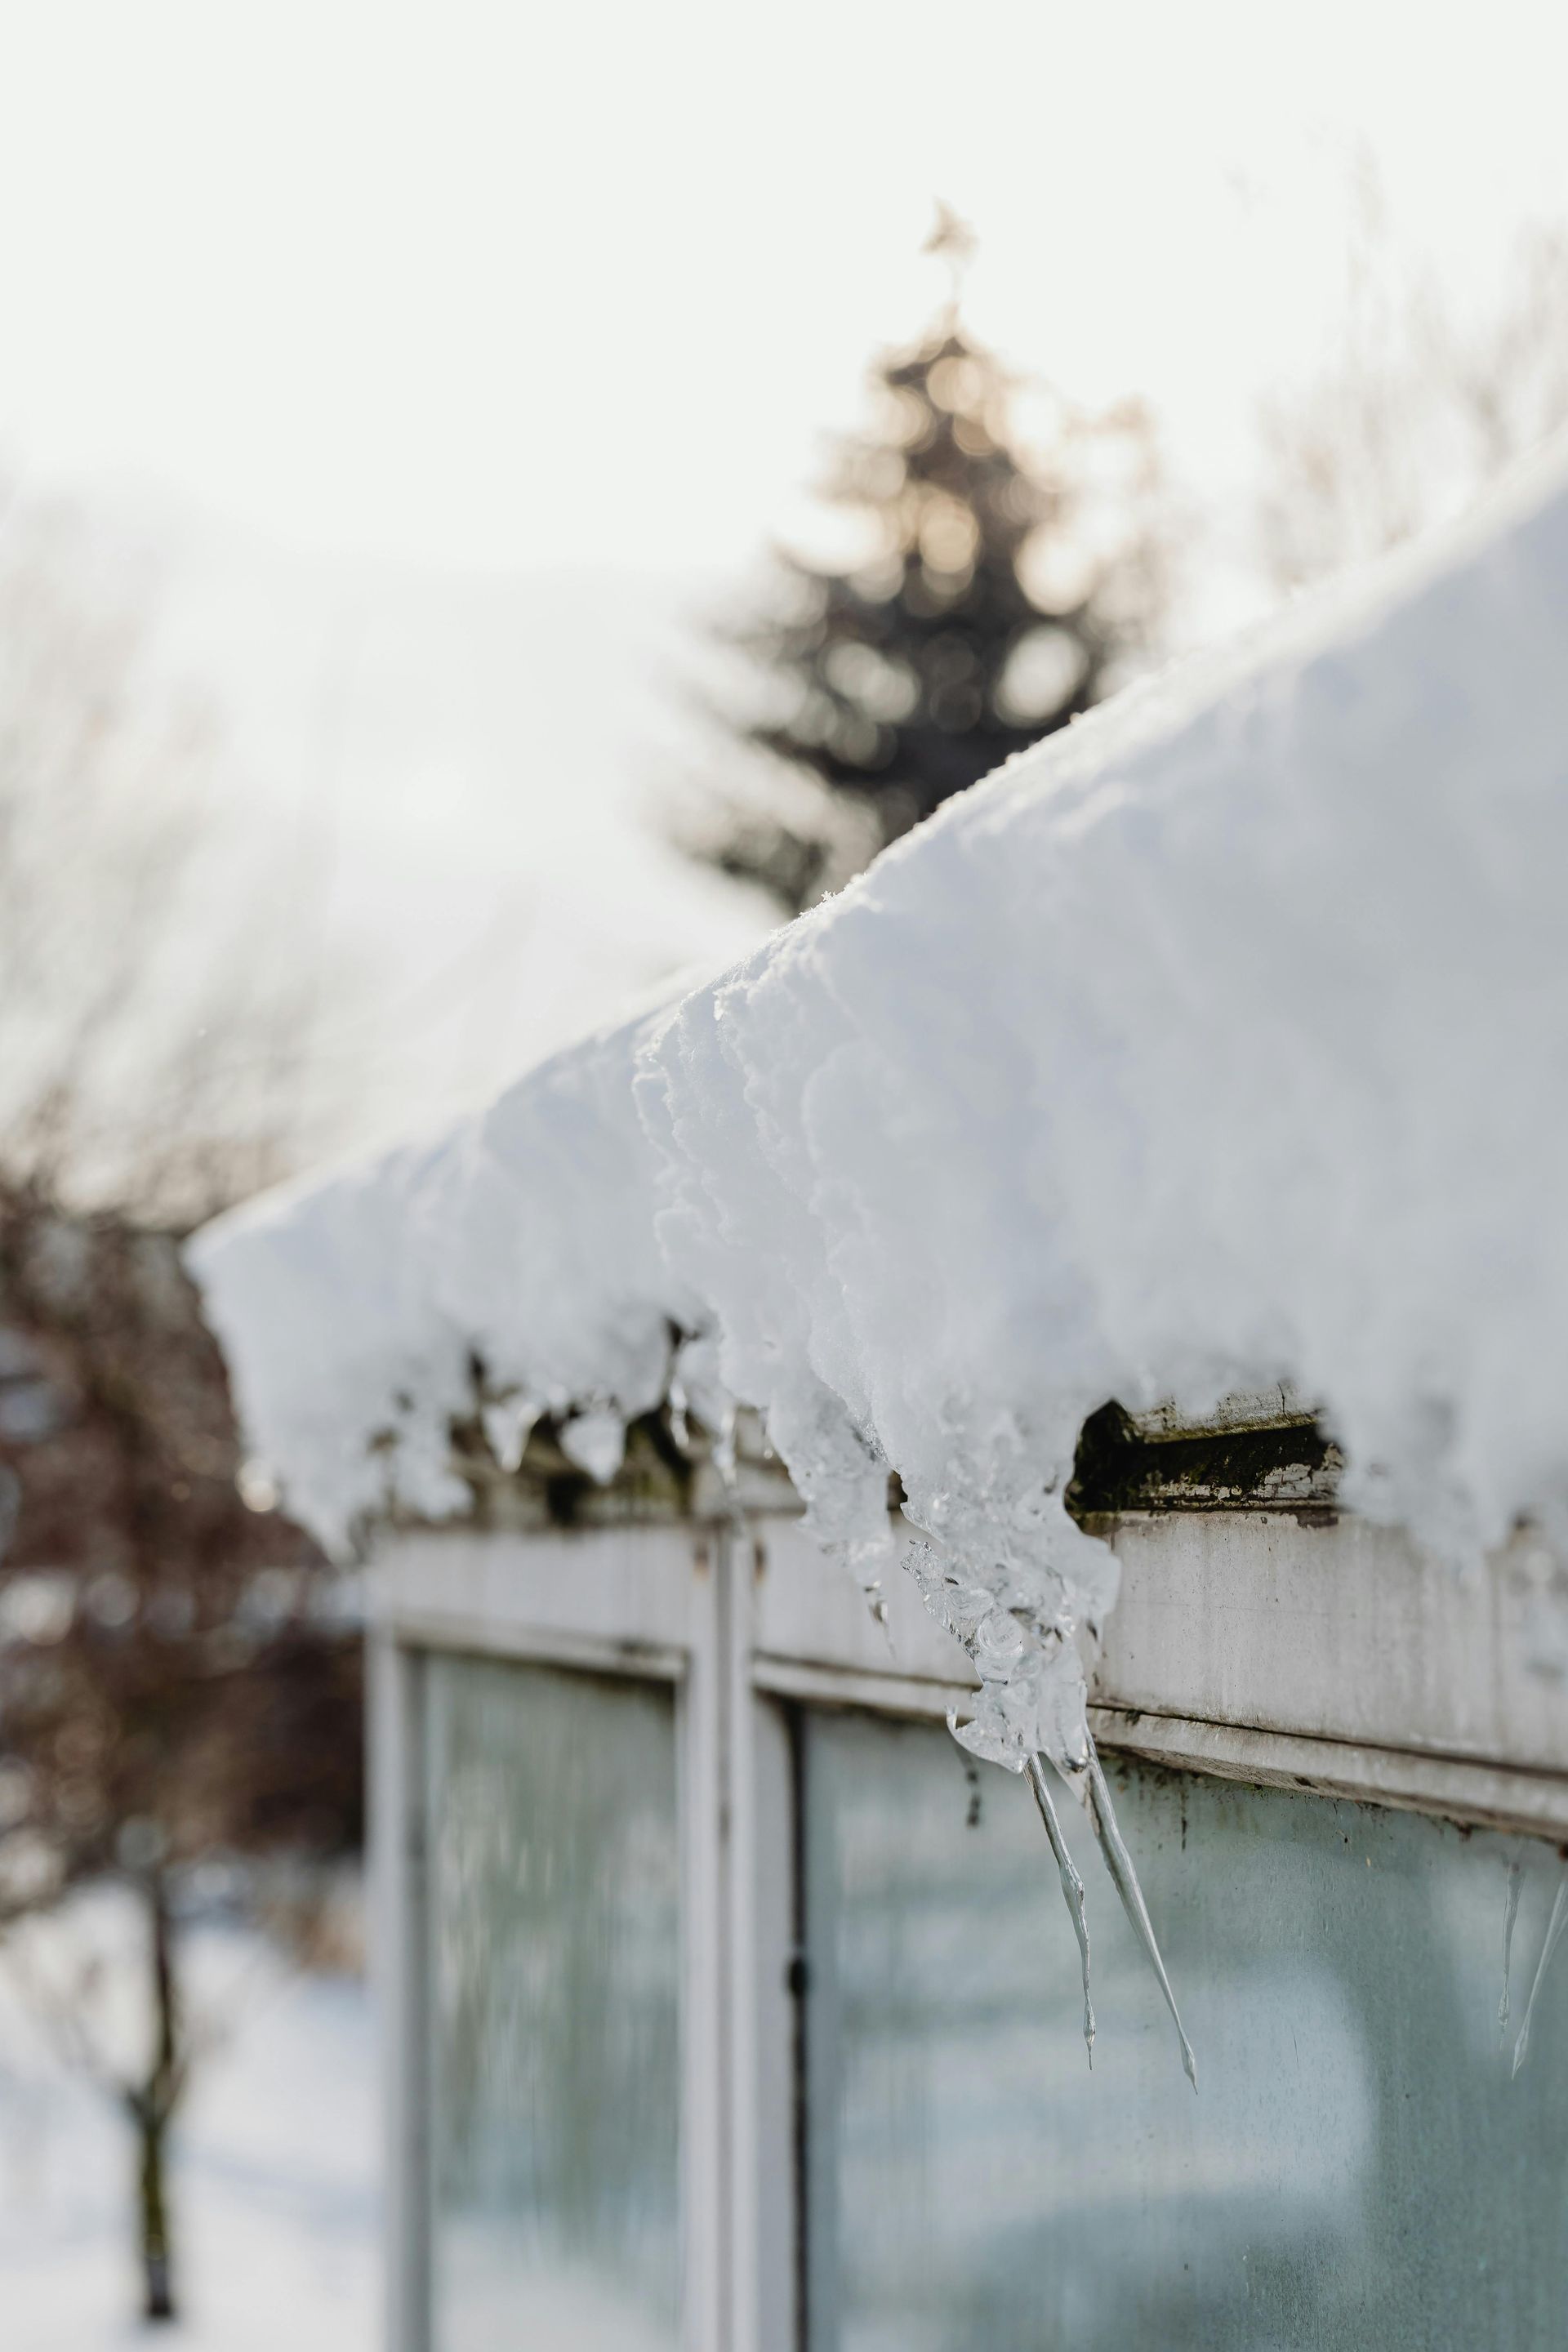
Expert roof repairs company serving Richmond, Chesterfield & Henrico after Winter Storm Fern. Emergency snowstorm roof damage repair available. Call (804) 350-5901.
Learn how roof hail damage affects Richmond homes, signs to watch for, insurance basics, and what to do after a storm.
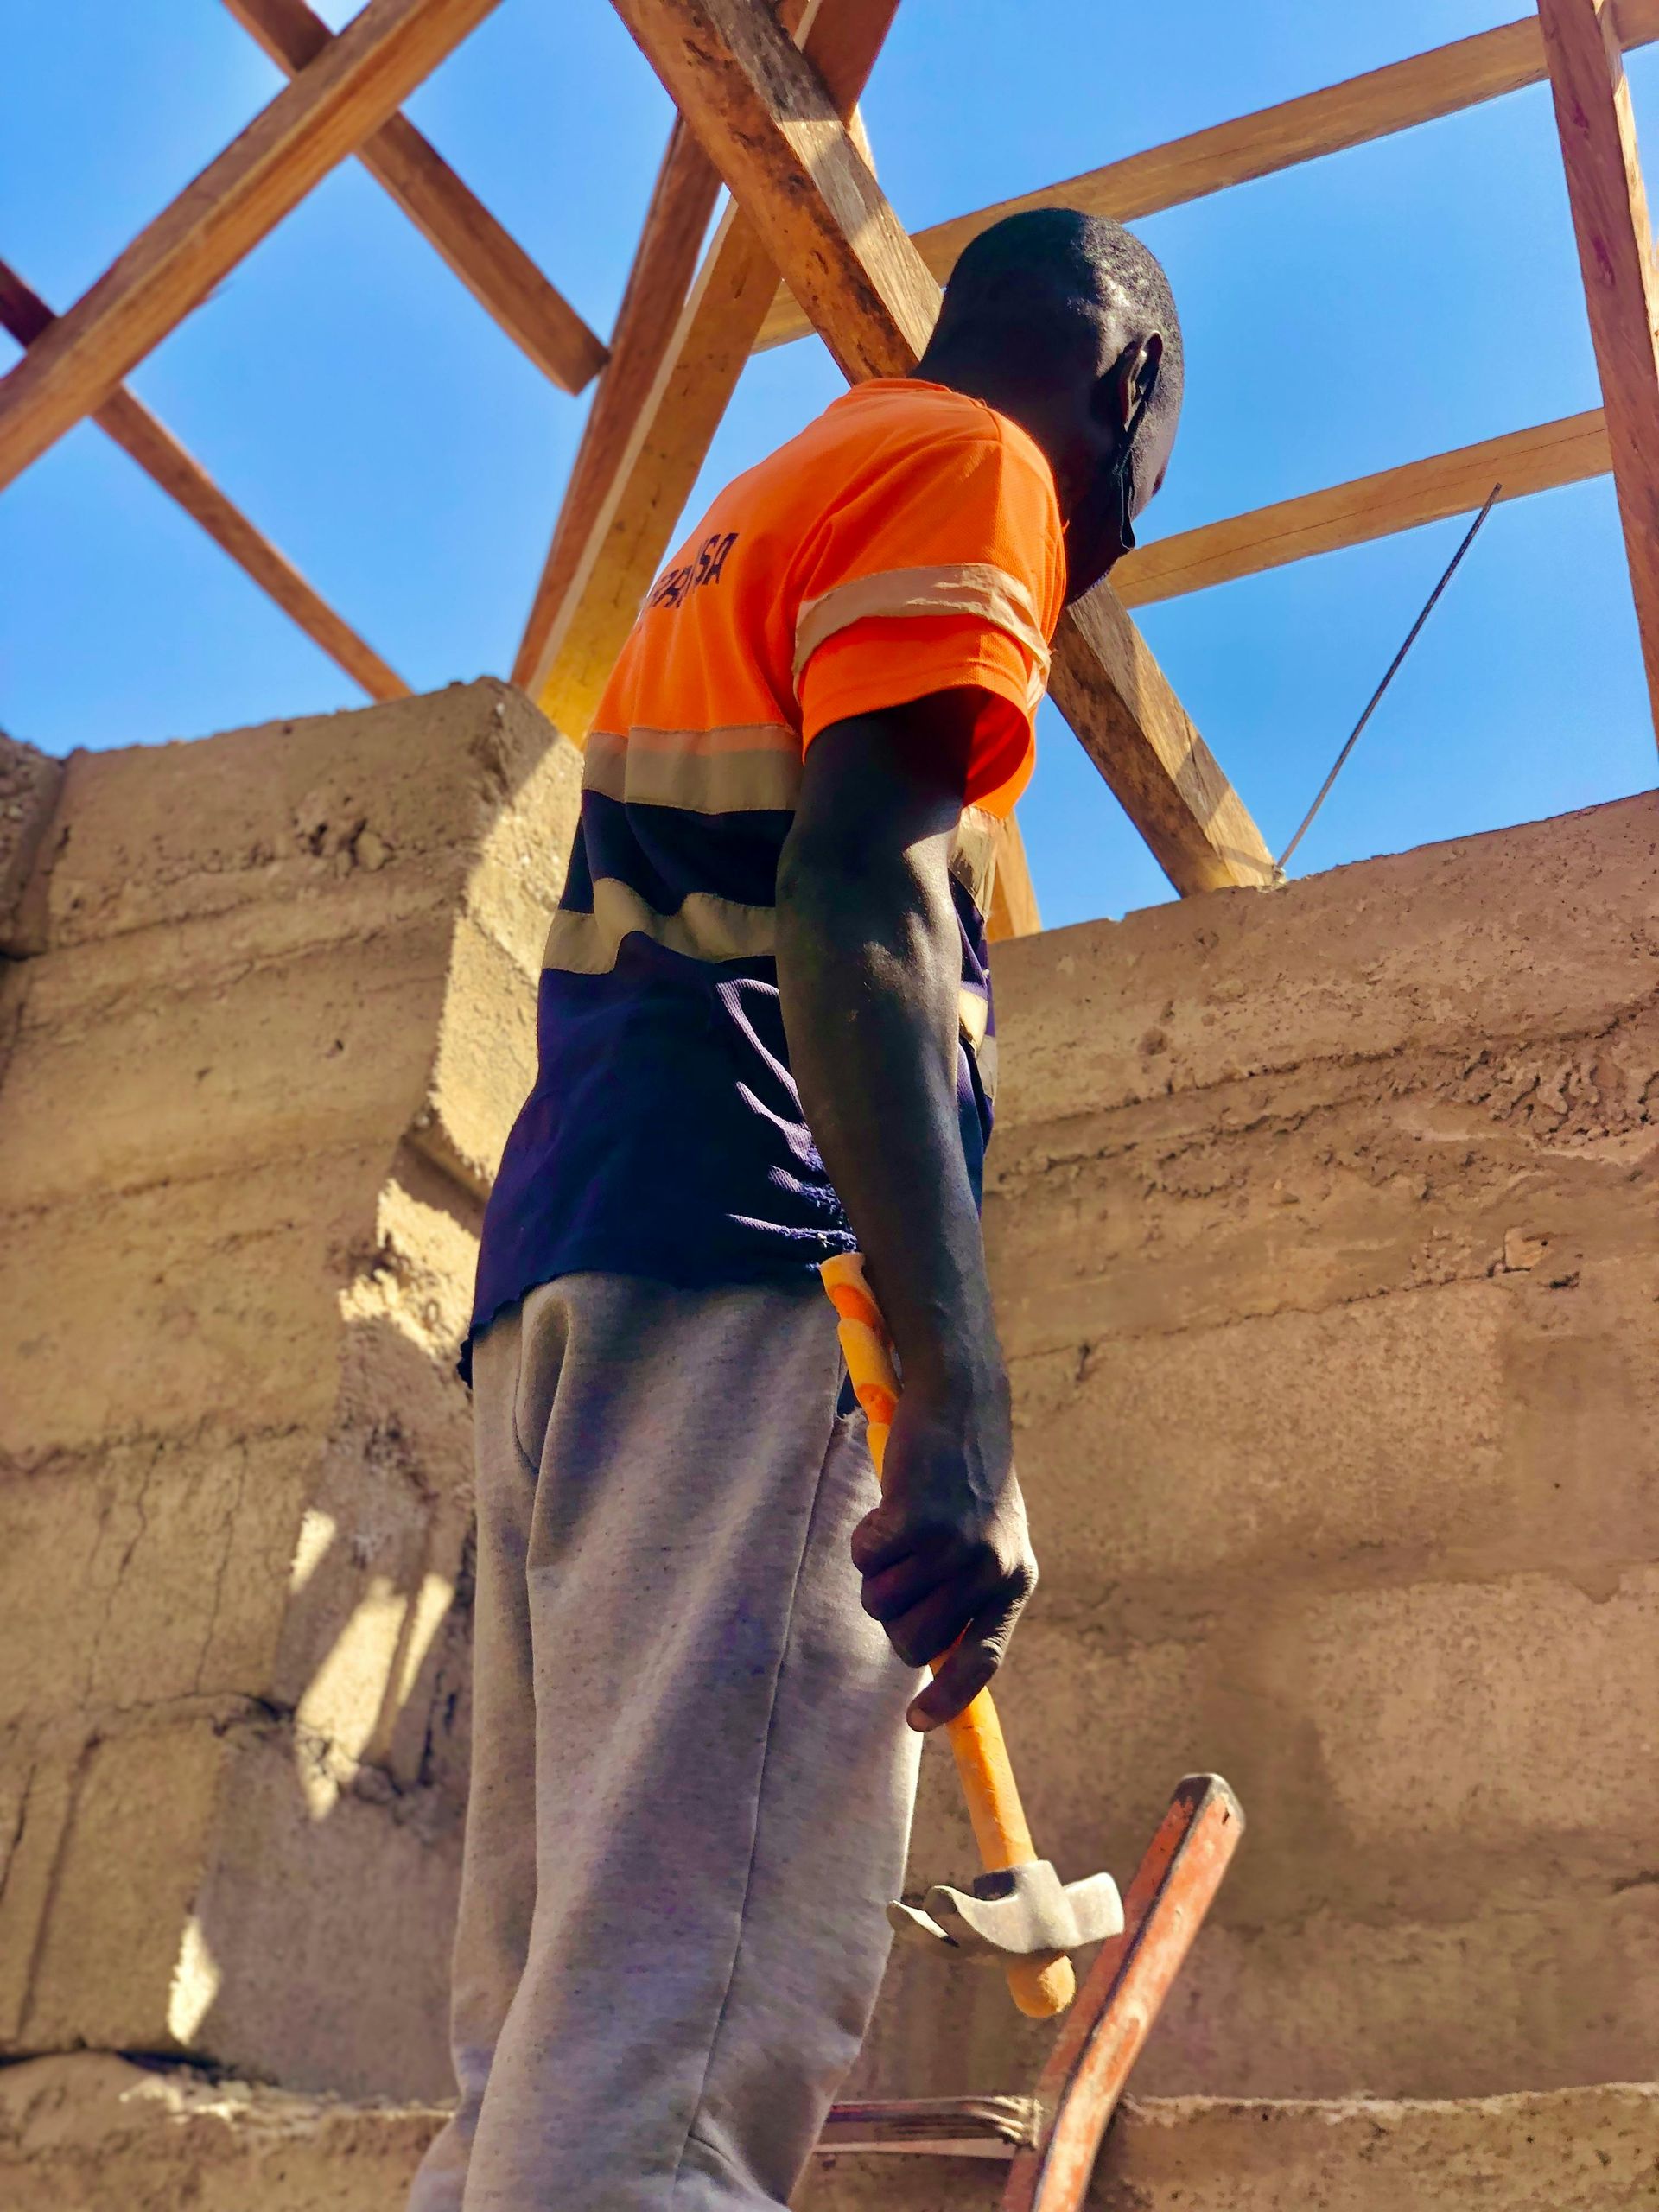
Learn the top qualities of trusted roofing contractors in Richmond and how to choose the right professional for your home or business.
Hiring a certified roof fixer ensures quality repairs, longer roof life, and protects your investment. Learn what to look for in a professional.

Learn how to choose the best commercial roofing Richmond contractor. Discover what to look for, key questions to ask, and how to protect your investment.
Explore metal roofing options in Richmond. Learn about the roof material's benefits, pricing, installation process, and find local contractors for your project.
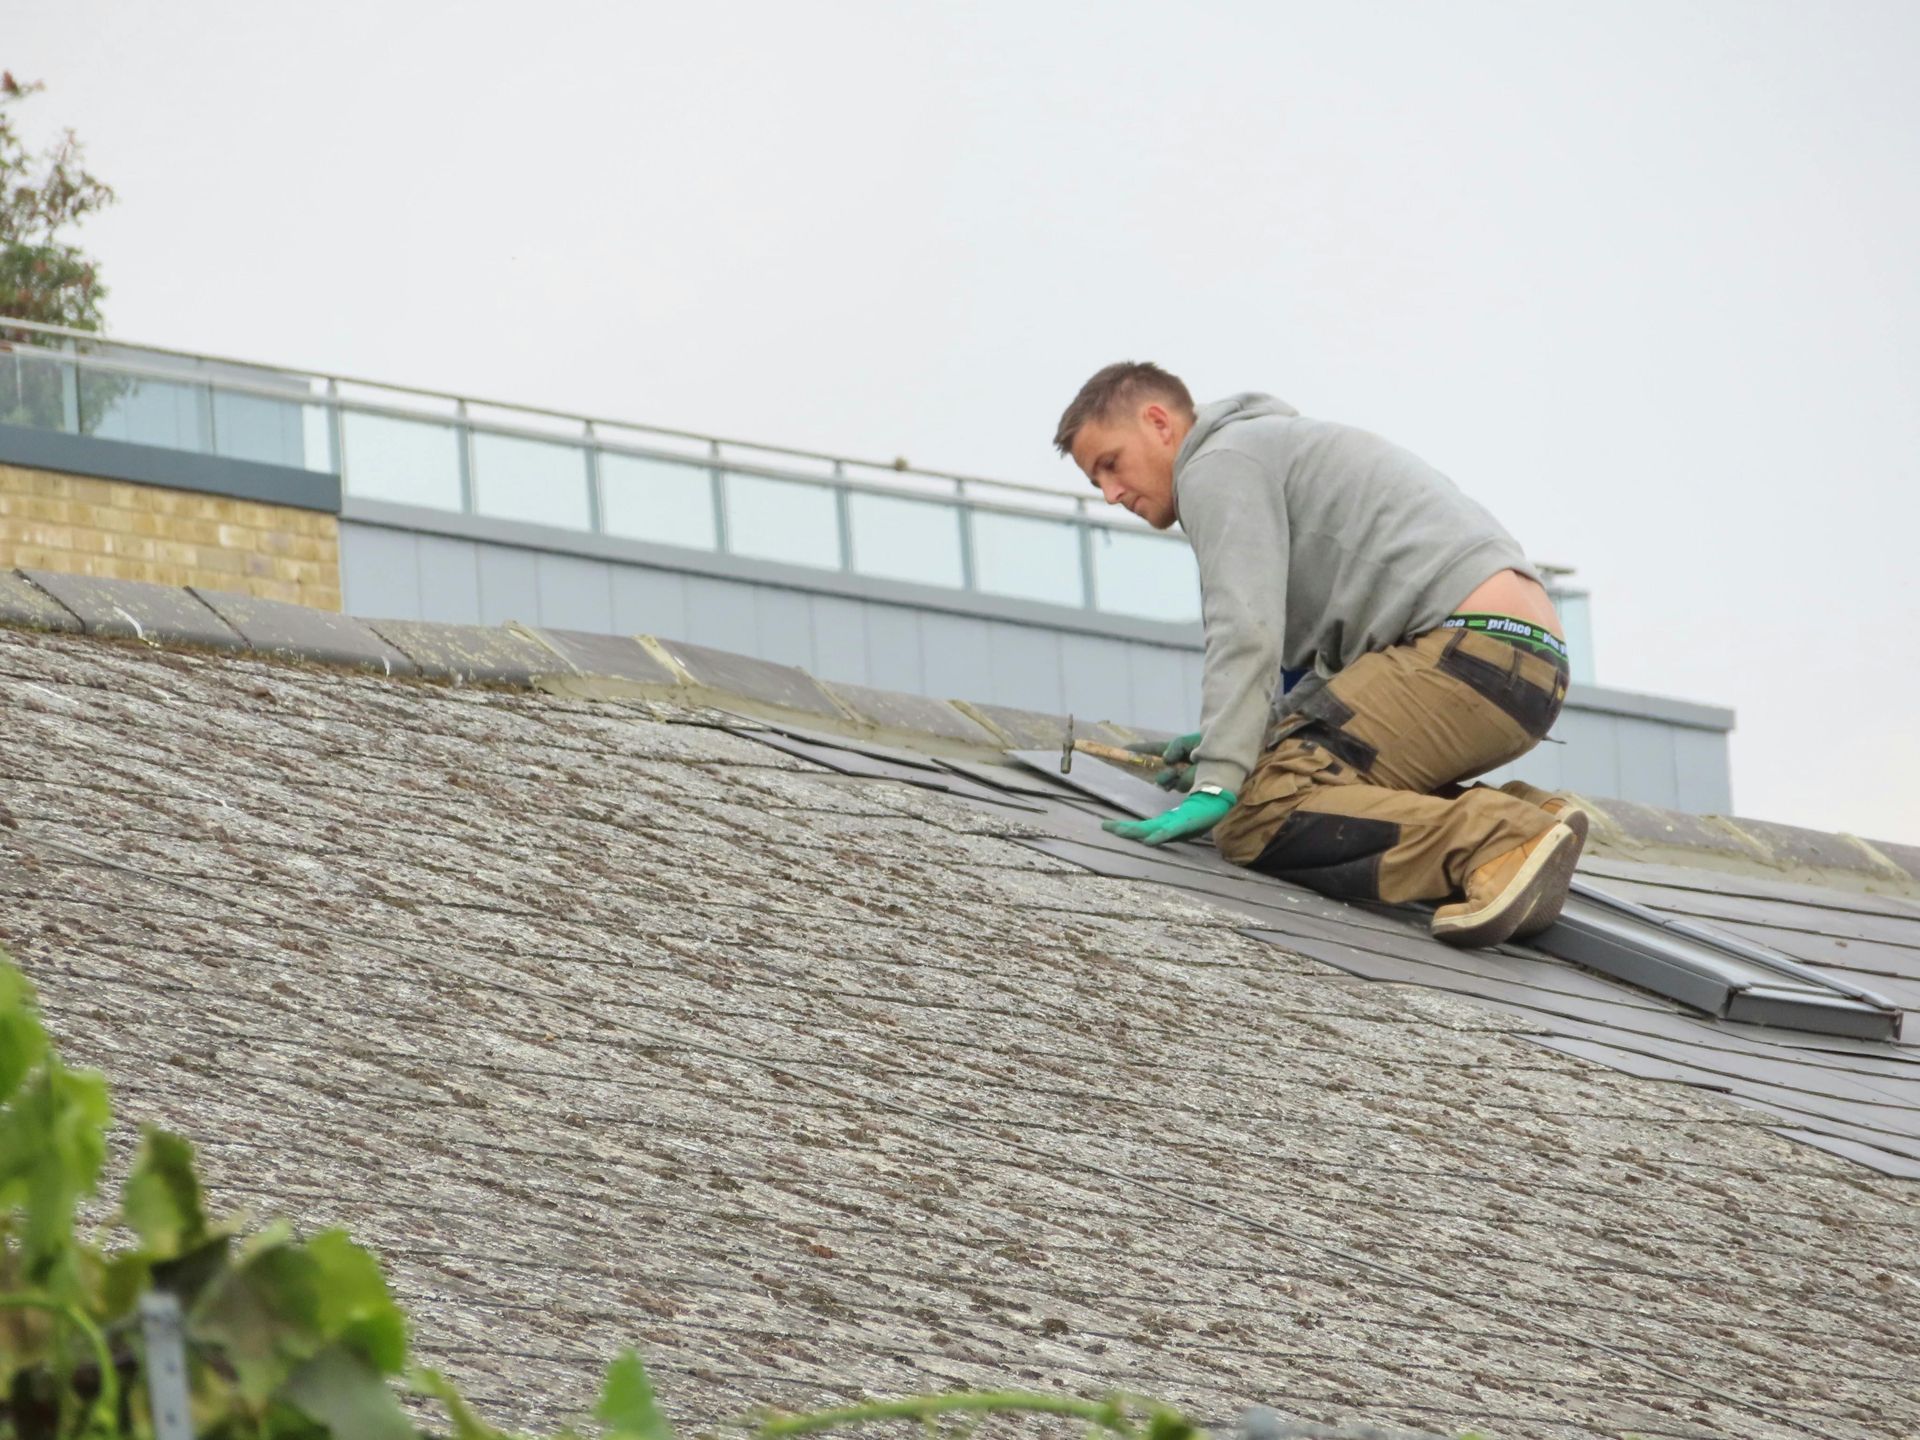
Do not ignore small roofing repairs in Chesterfield, VA. Learn why minor roof issues can become major problems and ways how to protect your home investment.

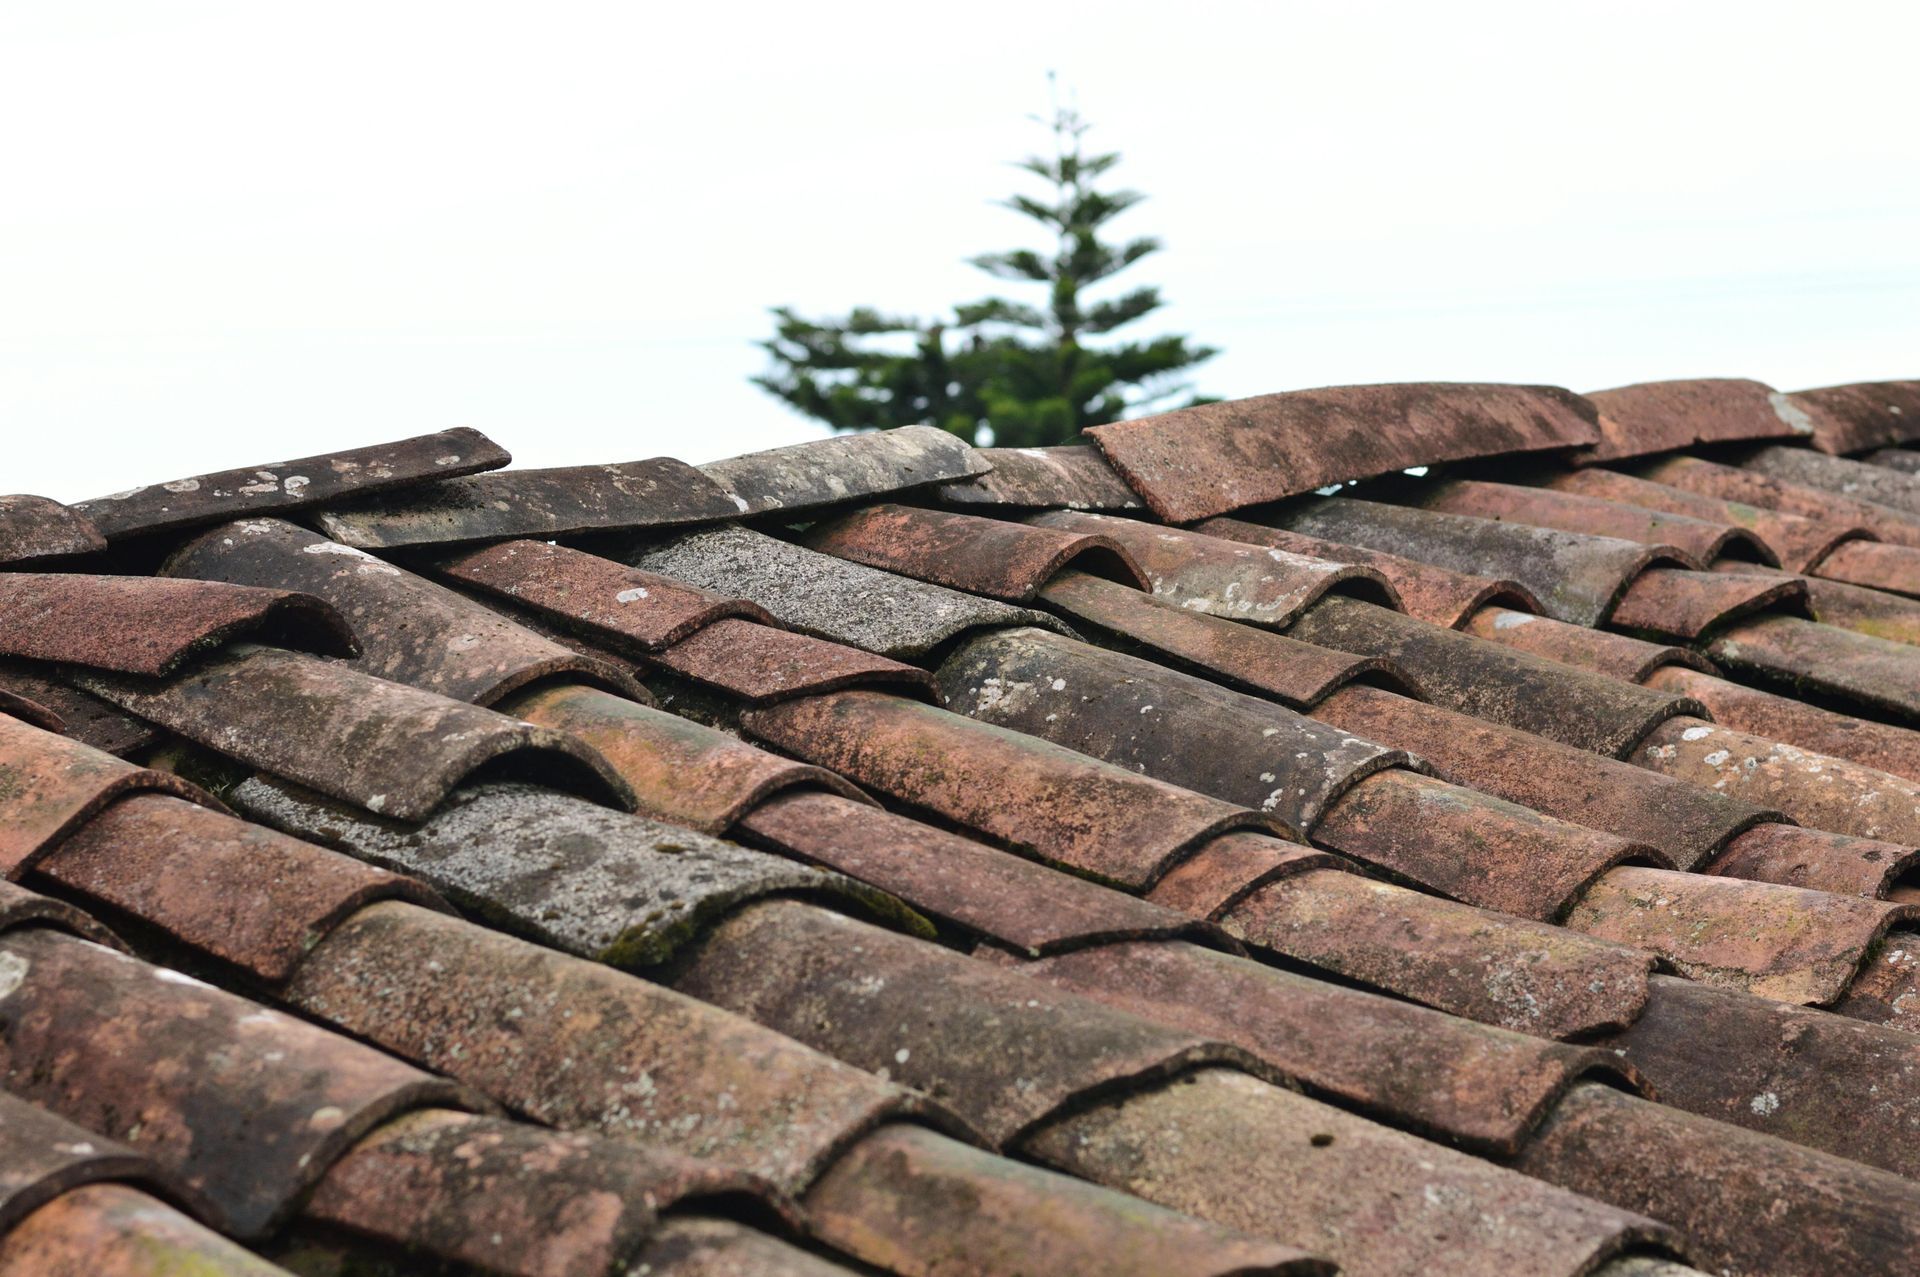
Roof flashing failure causes expensive water leaks and structural damage. Find out why flashing fails and how to prevent costly repairs to your home.

Proper attic ventilation extends roof lifespan significantly by preventing heat damage, moisture issues, and ice dams. Learn expert tips for Virginia homeowners.

Learn the key siding replacement signs before winter arrives. Protect your home from drafts, moisture, and costly damage with expert tips on when to replace siding.
Benefits of Reading Our Blog
Helping You Stay Ahead of Roofing Issues
Our blog is designed to:
• Provide homeowners with actionable tips for maintaining their roofs and siding.
• Answer common questions about roofing, repairs, and materials.
• Highlight solutions to local challenges specific to Midlothian, Chesterfield, and the Greater Richmond Area.
• Educate you on how to protect your home while maximizing its value.