
Why Roof Flashing Failure Causes Costly Water Leaks
Roof flashing serves as your home’s first line of defense against water infiltration, yet it remains one of the most overlooked components of residential roofing systems. These thin strips of metal, typically made from aluminum, galvanized steel, or copper, are strategically placed at vulnerable points where water could potentially penetrate your roof structure.
When roof flashing fails, the consequences extend far beyond simple water spots on your ceiling. Water damage can compromise structural integrity, create ideal conditions for mold growth, and result in repair bills that often reach thousands of dollars. Understanding why flashing fails and recognizing early warning signs can save homeowners significant money and protect their property investment.
Professional roofing contractors emphasize that flashing-related water damage accounts for a substantial portion of emergency roof repairs. The complexity of proper roof flashing installation and the critical nature of this waterproofing component make it essential for homeowners to understand its importance and maintain it properly.
Key Takeaways
- Roof flashing failure is responsible for the majority of water leak issues in residential properties
- Metal roof flashing installation requires precise techniques to ensure long-term water protection
- Galvanized steel flashing and aluminum step flashing each offer distinct advantages for different applications
- Early detection and roof flashing repair can prevent expensive structural damage and mold remediation costs
- Professional installation of drip edge flashing installation and aluminum chimney flashing significantly reduces leak risks
- Understanding roof flashing repair cost and cost to replace flashing on roof helps homeowners budget for necessary maintenance
What Is Roof Flashing and Why Does It Matter?
Roof flashing consists of weatherproof materials installed at critical junction points where different roof surfaces meet or where the roof connects to vertical structures. Common locations include areas around chimneys, vent penetrations, skylights, dormers, and where roof planes intersect. The primary function of flashing is to direct water away from these vulnerable areas and channel it safely off the roof.
Different types of flashing serve specific purposes:
- Step Flashing: Aluminum step flashing creates a waterproof barrier along roof-to-wall intersections. Each piece overlaps the next, forming a stepped pattern that guides water down and away from the structure. Individual step flashing pieces typically measure 4 to 6 inches wide and 8 to 10 inches long, with each piece installed beneath a shingle course and extending up the vertical wall surface.
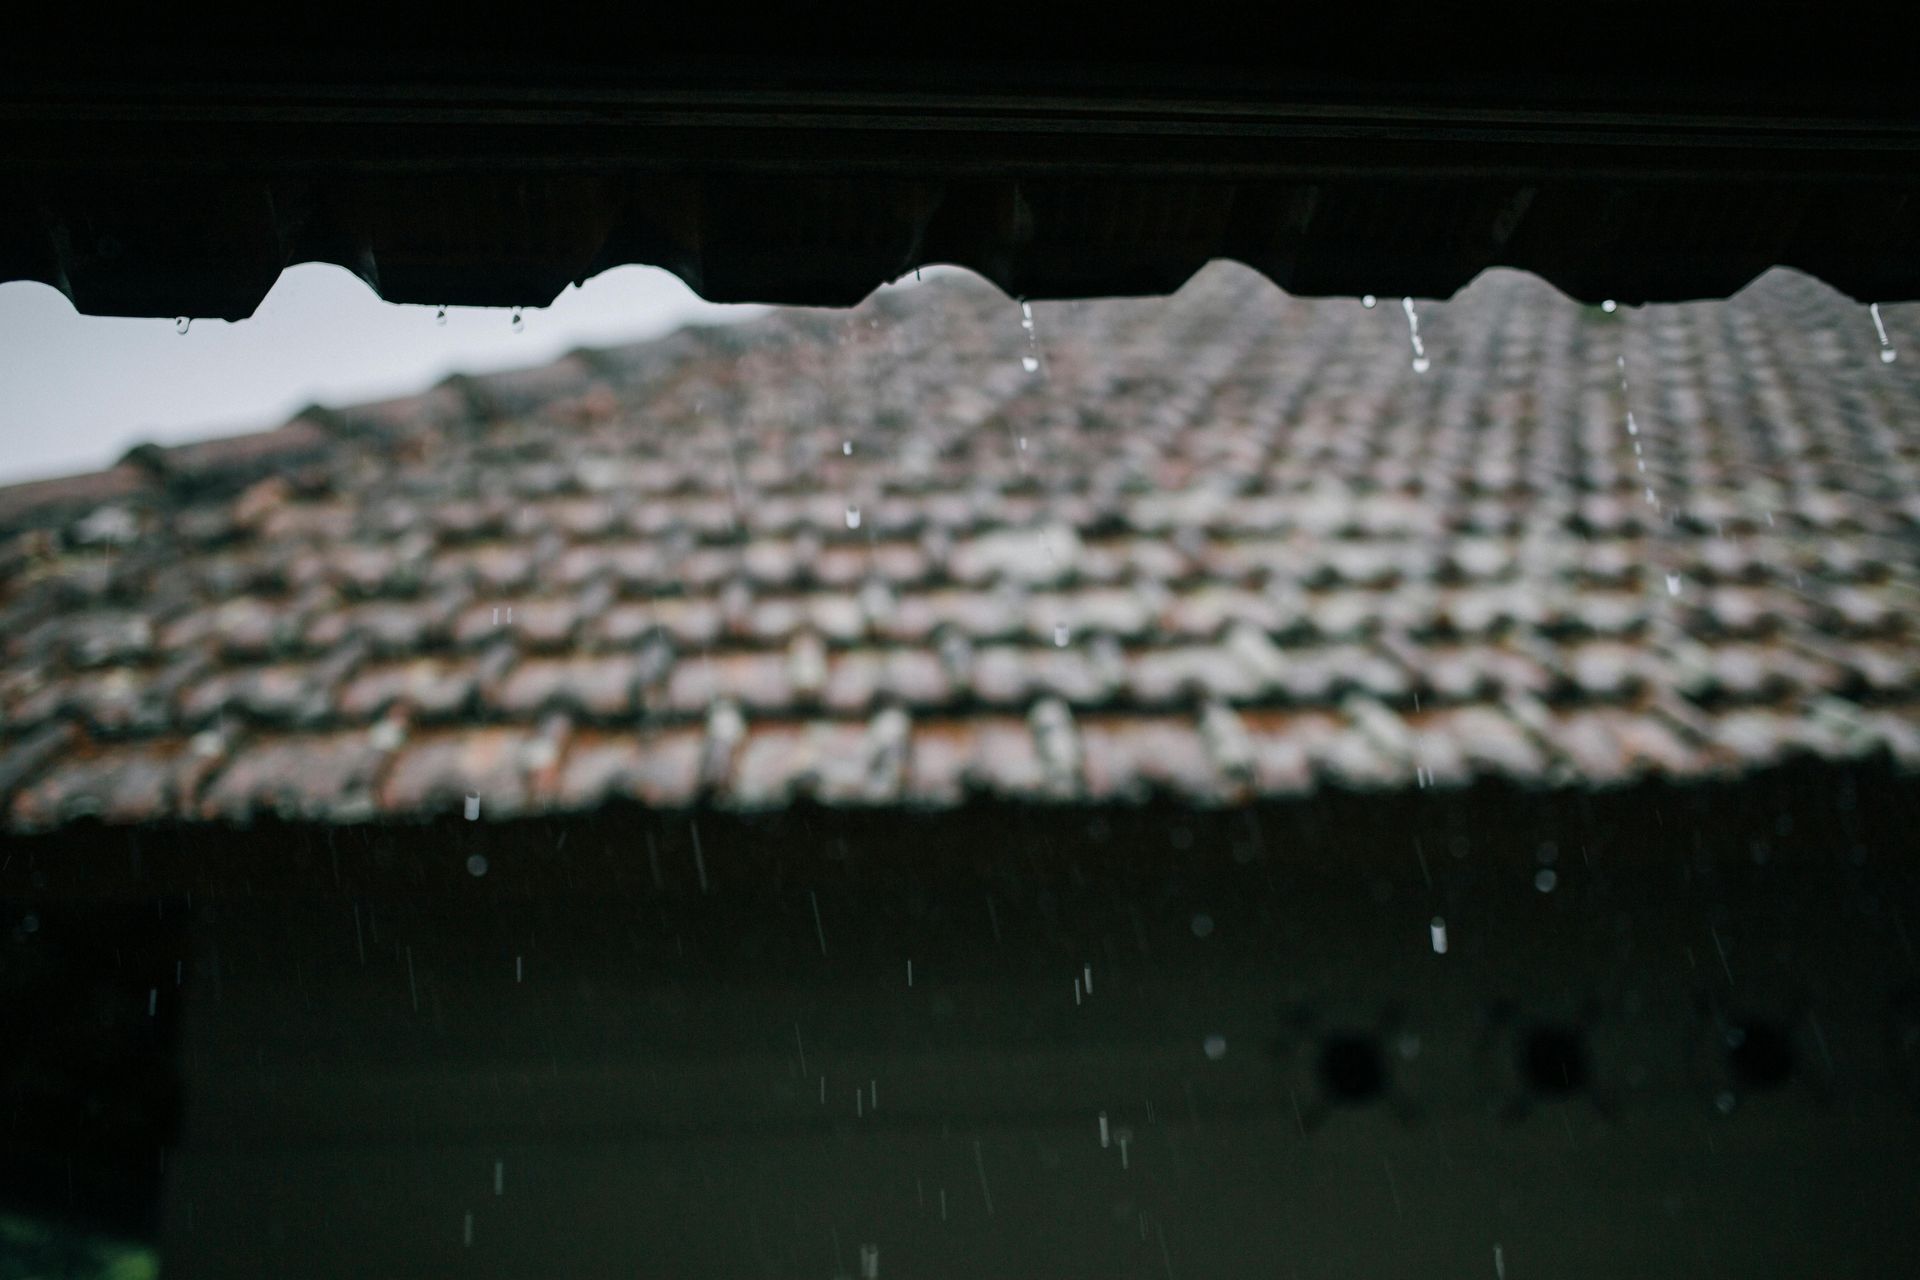
- Drip Edge Flashing: Galvanized drip edge flashing protects the roof’s perimeter by preventing water from flowing under shingles and into the fascia board. This L-shaped metal strip extends beyond the roof edge, creating a controlled drip point that directs water into gutters. Proper drip edge flashing installation involves securing the flashing to roof decking before installing underlayment and shingles.
- Chimney Flashing: Aluminum chimney flashing requires multiple components working together. Base flashing attaches to the roof surface and extends up the chimney sides, while step flashing creates individual water barriers along the chimney’s upslope and downslope sides. Cap flashing embeds into mortar joints and overlaps the base flashing to prevent water infiltration.
- Valley Flashing: Metal valley flashing protects the vulnerable area where two roof planes meet at an internal angle. These areas concentrate water flow from multiple roof sections, making them particularly susceptible to leaks if flashing fails. Valley flashing typically uses wider metal strips to handle increased water volume.
Common Causes of Roof Flashing Failure
Improper Installation Techniques
Installing metal flashing on a roof requires specialized knowledge and techniques that many inexperienced contractors lack. Common installation errors include insufficient overlap between flashing pieces, improper fastening methods, and failure to create adequate drainage slopes. When flashing pieces don’t overlap correctly, water can penetrate through gaps and cause immediate leakage problems.
Industry standards typically require minimum 2-inch overlaps between adjacent flashing pieces, but many installers either ignore these specifications or lack awareness of proper techniques. Incorrect fastener placement represents another frequent installation error. Fasteners should penetrate into solid wood decking or structural members, not just underlayment or thin sheathing materials.
Poor sealant application compounds installation problems. Professional installation requires specific sealant types for different applications, proper surface preparation, and correct application techniques. Many DIY attempts and low-quality installations use inappropriate sealants that fail quickly.
Material Deterioration and Age
Galvanized steel flashing, while durable, can develop rust spots over time, particularly in coastal environments or areas with acid rain exposure. The galvanized coating provides corrosion protection, but once this coating deteriorates through normal weathering or mechanical damage, the underlying steel becomes vulnerable to rust formation.
Aluminum flashing may develop small holes from thermal expansion and contraction cycles. Aluminum’s high thermal expansion coefficient means it moves significantly with temperature changes. Over time, this movement can stress fastener points and create fatigue cracks around attachment areas.
Even high-quality materials have finite lifespans, and aging flashing becomes increasingly prone to failure as protective coatings wear away and metal fatigue occurs. UV exposure affects all flashing materials but particularly impacts sealants and gaskets used in flashing systems.
Weather-Related Damage
Severe weather events pose significant risks to flashing integrity. High winds can lift flashing edges, creating entry points for water infiltration. Wind speeds as low as 45-50 mph can begin lifting improperly secured flashing, while hurricane-force winds can completely remove flashing sections.
Hail impact damage varies based on hailstone size, wind speed, and flashing material thickness. Small hail may create imperceptible dents that gradually develop into holes through repeated freeze-thaw cycles. Large hail can puncture flashing immediately, creating obvious damage points that require immediate repair.
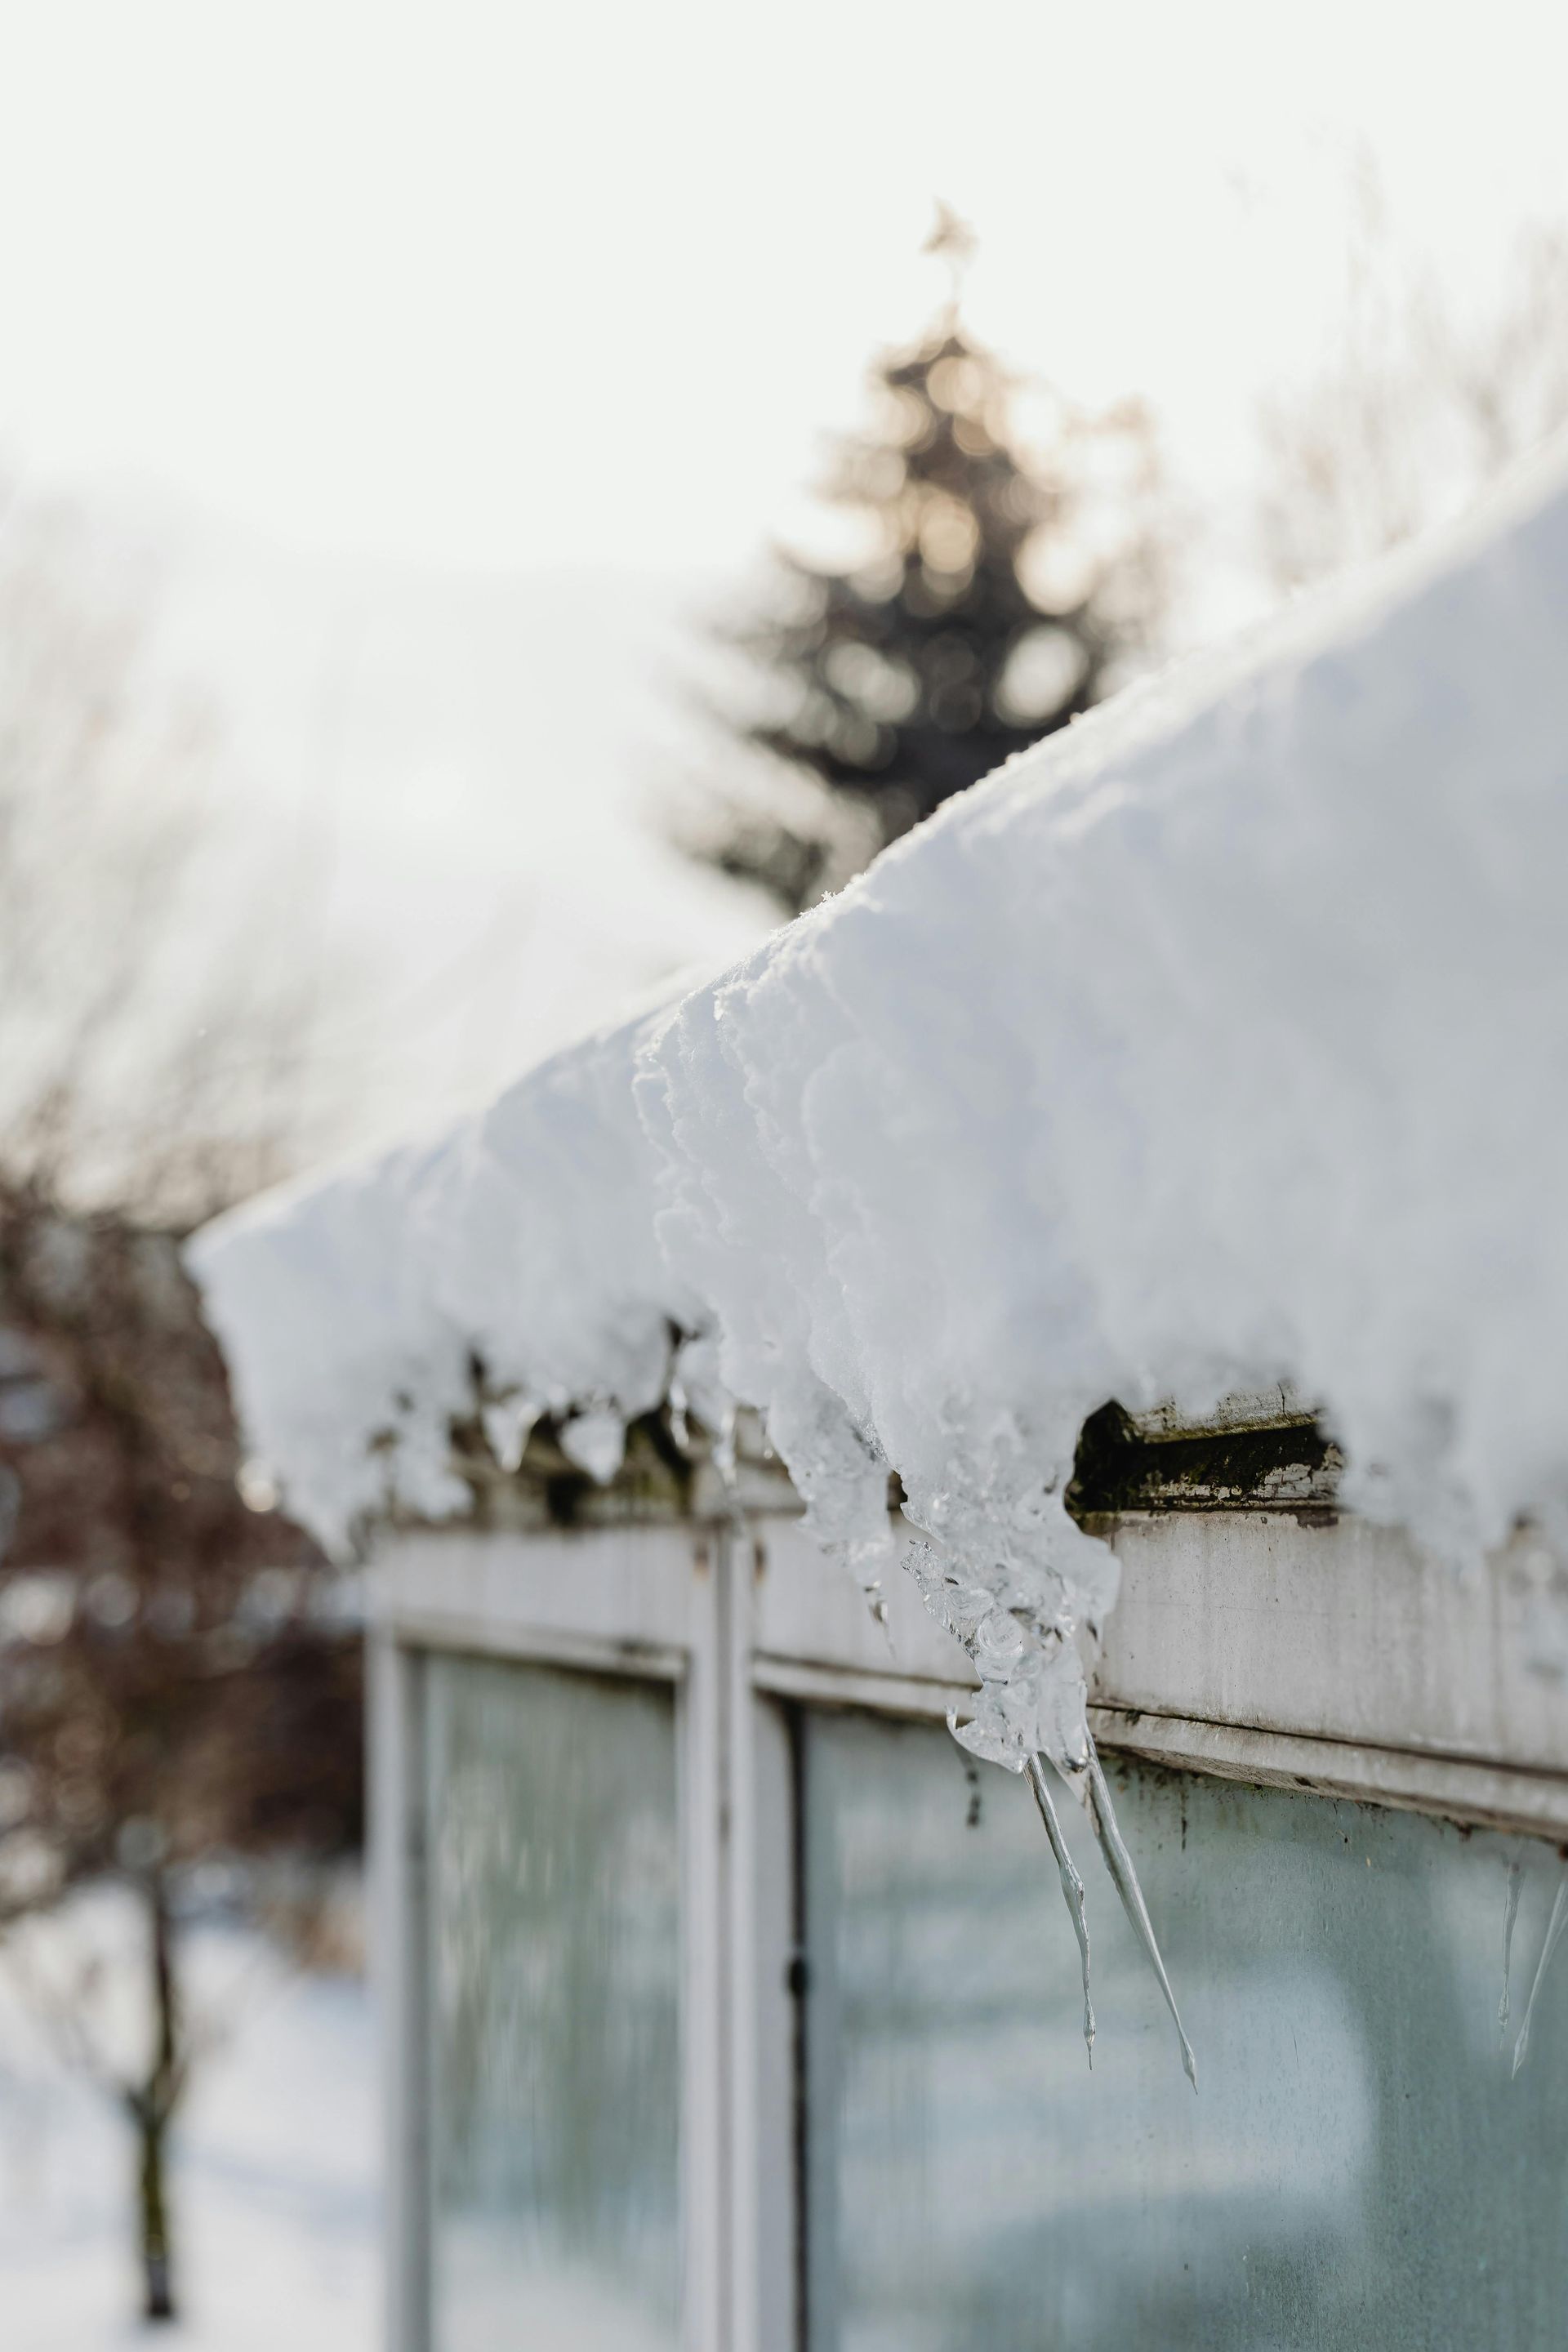
Ice dams represent a particularly destructive weather phenomenon that forces water up under flashing around chimney areas and other penetrations. Ice dams form when snow melts on warm roof sections and refreezes at colder roof edges, creating ice barriers that back up subsequent meltwater.
How Flashing Failure Leads to Expensive Water Damage
When roof flashing fails, water follows the path of least resistance, often traveling along structural members before becoming visible inside the home. This hidden water movement can cause extensive damage before homeowners notice obvious signs like ceiling stains or dripping water. The delayed detection makes flashing-related water damage particularly costly to address.
Water entering through failed flashing doesn’t simply drip straight down. Instead, it travels along roof decking, follows structural beams, and can migrate significant distances from the original entry point before becoming visible. This migration means that by the time homeowners notice water damage, the actual affected area may be much larger than the visible damage suggests.
Structural damage progression typically follows a predictable pattern. Water first saturates insulation materials, reducing their effectiveness and creating conditions for mold growth. Wet insulation loses its thermal properties and becomes significantly heavier, potentially stressing ceiling joists beyond their design capacity.
Wooden structural elements begin absorbing moisture, leading to warping, rot, and potential load-bearing capacity reduction. Wood moisture content above 20% creates ideal conditions for decay fungi, which can compromise structural integrity within months of initial water exposure. Roof decking, joists, and wall framing all face deterioration risks when exposed to persistent moisture from flashing failures.
Interior damage often becomes apparent after extensive structural compromise has already occurred. Drywall develops stains, bubbles, and eventually fails completely in severely affected areas. Flooring materials, particularly hardwood and laminate, can warp or buckle when exposed to water infiltration. Electrical systems near affected areas may require complete replacement due to safety concerns.
The most expensive aspect of flashing-related water damage often involves remediation of hidden problems. Mold growth behind walls or above ceilings requires professional remediation that can cost thousands of dollars. Insurance coverage limitations often leave homeowners responsible for significant portions of water damage costs.
Roof Flashing Repair Cost Analysis
| Repair Type | Possible Cost Range | Estimated Timeline |
|---|---|---|
| Minor flashing repair | $200 - $500 | Half day |
| Complete chimney flashing replacement | $800 - $1,500 | 1-2 days |
| Full roof flashing installation | $1,200 - $3,000 | 2-3 days |
| Water damage remediation | $3,000 - $15,000+ | 1-4 weeks |
Preventing Flashing Failure Through Proper Maintenance
Regular inspection schedules help identify potential flashing problems before they cause water damage. Homeowners should examine flashing areas at least twice yearly, particularly after severe weather events. Look for signs of corrosion, loose fasteners, separated joints, or any visible gaps where water could penetrate.
Professional maintenance involves several key activities:
- Sealant Inspection and Renewal: Caulking and sealants around flashing penetrations require periodic replacement. High-quality polyurethane or silicone sealants typically last 5-10 years before requiring renewal.
- Fastener Tightening: Metal expansion and contraction gradually loosen screws and nails holding flashing in place. Annual inspection and re-tightening of fasteners prevents gaps from developing.
- Debris Removal: Leaves, branches, and other debris can accumulate around flashing areas, creating dams that force water under protective barriers. Regular cleaning maintains proper drainage and prevents backup conditions that cause leaks.
Professional Installation vs. DIY Approaches
Roof flashing installation cost varies significantly based on complexity, materials, and local labor rates. While some homeowners consider DIY approaches to reduce expenses, flashing installation requires specialized knowledge and tools that most homeowners lack. Improper installation often results in immediate or near-term failure, ultimately costing more than professional installation.
Professional roofers understand critical installation details that ensure long-term performance. They know proper overlap dimensions, appropriate fastener spacing, and correct sealant application techniques. Experienced contractors also recognize when existing roof conditions require additional preparation or modified installation methods.
Quality installation includes proper integration with existing roofing materials, correct slope creation for drainage, and appropriate material selection for local climate conditions. Professional work typically comes with warranties that protect against installation defects.
Frequently Asked Questions
How long does roof flashing typically last before requiring replacement?
Most roof flashing materials last 15-25 years with proper installation and maintenance. Galvanized steel flashing may show signs of rust after 15-20 years, while aluminum flashing often performs well for 20-25 years before requiring replacement.
What are the most common signs that flashing around chimney areas needs attention?
Look for water stains on ceilings near the chimney, rust spots on metal flashing, separated joints between flashing pieces, or missing mortar around cap flashing. These signs indicate immediate attention is needed to prevent water damage.
Can homeowners fix flashing on a roof themselves or should this always be professional work?
Minor repairs like replacing sealant or tightening loose fasteners may be suitable for experienced DIY homeowners. However, major flashing repairs or installations require professional expertise to ensure proper water protection and avoid costly mistakes.
How does the cost to replace flashing on a roof compare to potential water damage costs?
Flashing replacement typically costs $1,000-$3,000 for most homes, while water damage remediation can exceed $10,000-$15,000. The significant cost difference makes preventive flashing maintenance and timely repairs financially prudent for homeowners.
What factors influence roof flashing installation cost the most?
Installation complexity, material choice, roof accessibility, and local labor rates significantly impact costs. Complex chimney or skylight flashing installations cost more than simple drip edge work due to increased labor and material requirements.
Final Thoughts
Roof flashing is an important investment in your home’s long-term protection and value preservation. Understanding the causes of flashing failure and recognizing early warning signs lets homeowners take proactive measures that prevent costly water damage. Regular professional inspections and timely repairs maintain flashing effectiveness and extend its service life.
Given the considerable cost difference between preventive flashing maintenance and water damage remediation, regular attention to these systems is financially wise. Working with experienced roofing professionals ensures proper installation techniques and appropriate material selection for your specific climate and structural conditions.
When considering roof flashing repair or replacement, prioritize quality materials and professional installation over short-term cost savings. The peace of mind that comes from properly functioning flashing systems, combined with protection against expensive water damage, makes this investment in your home’s infrastructure a wise long-term decision.
Protect your home from costly water damage. Call our roof experts for your professional roof flashing inspection today!
Reference:
https://cleanriteri.com/article/understanding-the-stages-of-water-damage
Share this article