
Siding Installation 101: How to Reattach Loose Siding Like a Pro (Without Replacing the Whole Wall)
If you’ve ever spotted a piece of siding flapping in the wind, you know it’s not something you can ignore. Loose siding doesn’t just hurt your home’s curb appeal—it also opens the door to water damage, drafts, and even pests.
As a siding contractor with years of hands-on experience, we’ve seen just how important proper siding installation and repairs are for protecting your home.
In this guide, we’ll walk you through how to reattach loose siding, when to DIY, and when to call in the pros. Whether you have vinyl siding, wood siding, or fiber cement, we’ve got you covered with practical steps and smart insights.
Why Siding Comes Loose
Before you grab your ladder and tools, it’s important to understand why siding might be slipping in the first place. Loose siding isn’t just a cosmetic issue—it’s often a symptom of underlying problems. Here are the most common reasons we see siding come loose during our inspections:
1. Improper Installation (Especially in Older Homes)
One of the leading causes of loose siding is poor installation. If the original siding was nailed too tightly, didn’t allow for thermal movement, or was misaligned, it's likely to come loose over time. This is especially true for older homes where the standards and techniques for siding installation weren’t as strict or advanced as they are today. In some cases, installers may have used the wrong fasteners or skipped crucial steps altogether.
2. Weather Damage (Strong Winds or Storms)
Mother Nature can be brutal. High winds, hail, heavy rain, or flying debris during a storm can tug siding panels out of place or break their locking mechanisms. Even a powerful gust can catch under a loose edge and rip off a panel entirely. After a storm, it’s a good idea to walk around your home and check for any movement or gaps in your siding.
3. Expansion and Contraction Due to Temperature Fluctuations
Siding materials like vinyl siding are designed to expand and contract with temperature changes. However, if they weren’t installed with the proper gaps or flexibility, repeated movement can wear down the panel locks or cause nails to pull out. Over time, this results in panels slipping out of place or bowing away from the wall.
4. Aging Fasteners or Missing Nails
Fasteners don’t last forever. Nails and clips can rust, corrode, or simply work their way loose over the years. Once a few are missing or compromised, the weight of the panels shifts, causing the siding to sag or detach. This is especially common on sections that see a lot of sun exposure or vibration from nearby road traffic.
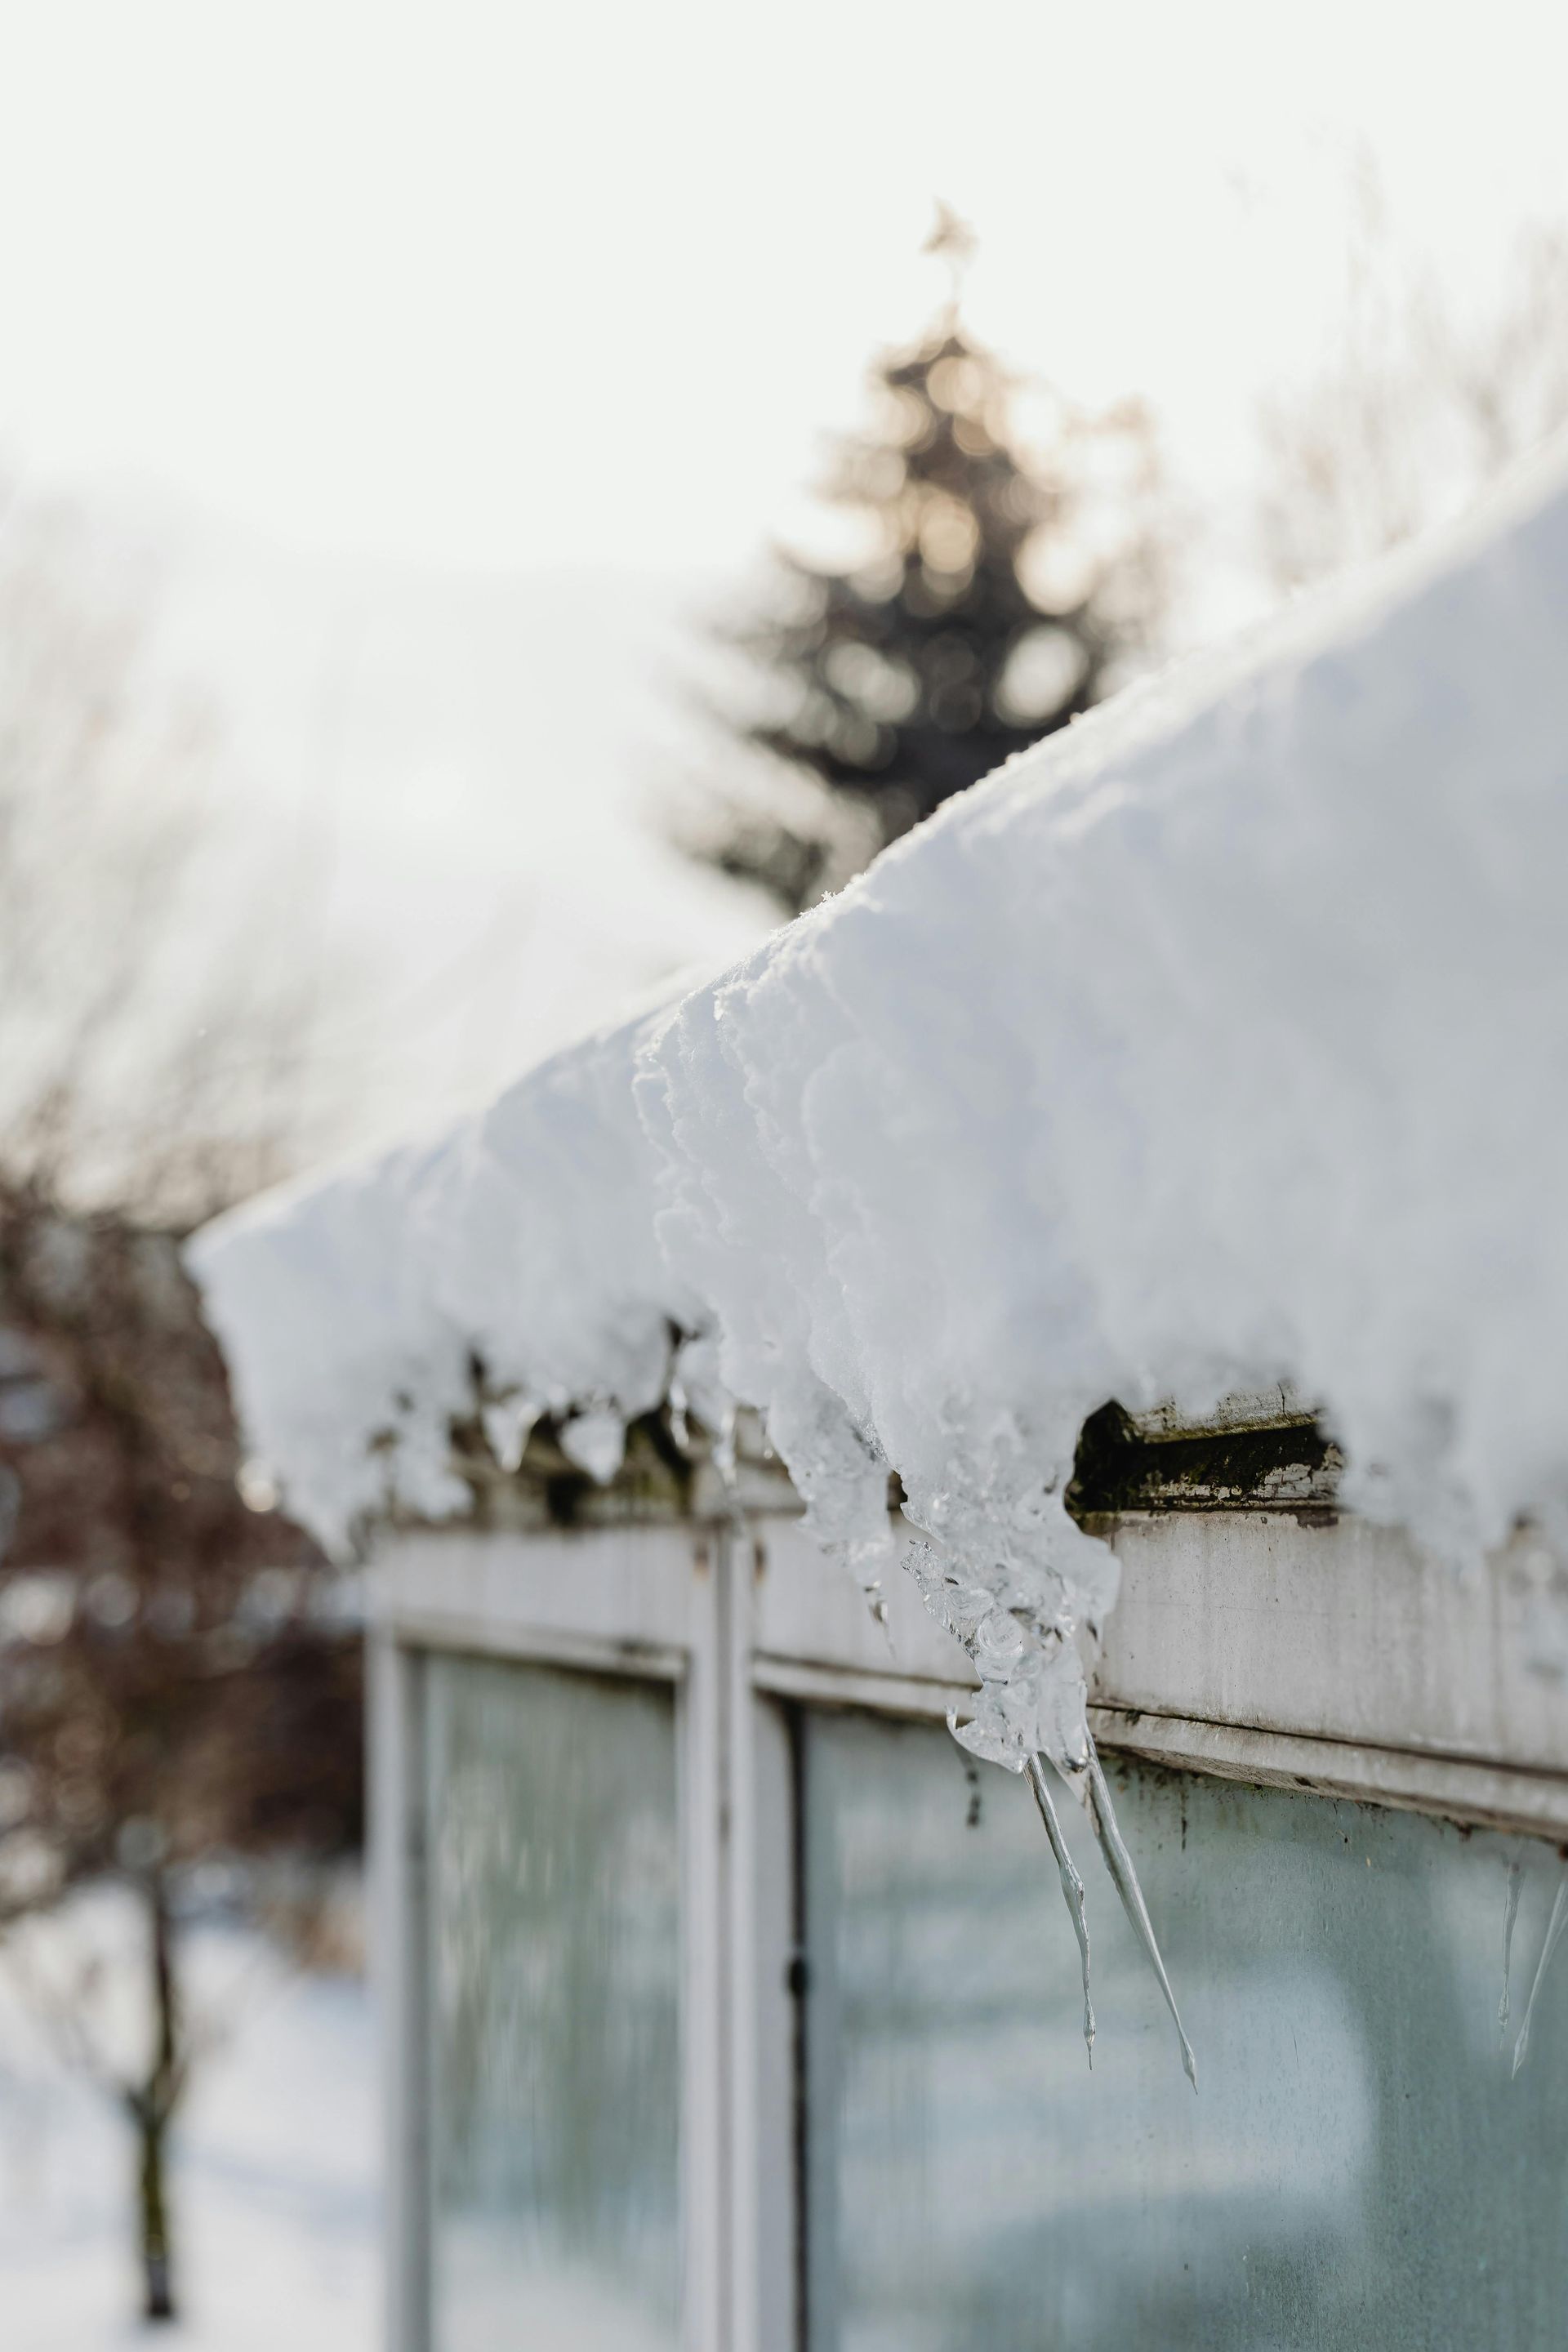
5. Water Damage That Weakens the Underlying Structure
Water is one of siding’s biggest enemies. If moisture gets behind the panels—whether from poor flashing, clogged gutters, or cracks—it can rot the sheathing or framing underneath. Once the structure behind the siding weakens, fasteners can lose their grip and panels may start to separate. This not only leads to loose siding but also puts your home at risk for more serious damage like mold and structural decay.
Why It Matters:
Spotting loose siding early can save you from a bigger headache down the road. What starts as a simple fix can quickly escalate to a major siding project if left untreated—especially if water starts seeping into your exterior wall. Addressing the root cause right away ensures your siding continues to protect your home and maintain its energy efficiency, curb appeal, and resale value.
Tools You'll Need
You don’t need a full toolbox to reattach siding, but a few essentials will make the job go smoother:
- Zip tool (for vinyl siding)
- Hammer or siding nails
- Nail punch
- Caulk or sealant
- Ladder
- Safety gloves
How to Reattach Loose Wood Siding
Wood siding brings classic charm and natural warmth to any home—but it also requires a bit more care than synthetic options like vinyl or fiber cement.
Over time, exposure to the elements can cause wooden boards to warp, crack, or pull away from the exterior wall. Luckily, if the damage is limited, you can often reattach loose wood siding yourself with a few tools and a bit of patience.
Here’s how we typically approach this type of repair:
1. Assess for Rot or Moisture Damage
Start by checking the affected area carefully. Use a screwdriver or your finger to press gently into the wood. If the siding feels soft, spongy, or crumbles easily, that’s a clear sign of rot.
Rotted wood can’t hold nails or provide a stable surface—it needs to be replaced.
Also, inspect behind the siding for signs of mold or moisture in the exterior wall or sheathing. If water has gotten behind the boards, you'll need to address the root cause (like faulty flashing or clogged gutters) before reattaching the siding.
2. Nail It Back Securely
If the board is still in good condition, you can reattach it using finishing nails:
Use corrosion-resistant nails (like galvanized or stainless steel) that are appropriate for exterior use.
- Drive the nails directly into the wall studs, not just the sheathing, for a secure hold.
- Position nails just above the lap edge to keep them discreet and maintain the overlapping structure.
- A nail punch or set tool helps you drive the nail heads just below the wood’s surface without denting or cracking the siding.
Tip: Avoid overdriving the nails. Wood needs a little room to expand and contract with humidity changes, just like vinyl.
3. Seal All Gaps and Edges
Once the siding is resecured, go back and seal any seams, joints, or small gaps between boards using a high-quality exterior caulk. This step helps:
- Prevent moisture from seeping in
- Stop pests from entering
- Improve the long-term weather resistance of your siding
Choose a paintable, flexible caulk designed for exterior wood. Apply it smoothly with a caulking gun and tool it with a damp finger or finishing tool for a clean line.
4. Touch-Up with Paint or Stain
- Repaired wood siding often needs a little cosmetic work to match the rest of your home’s exterior. Depending on your finish:
- Use exterior-grade paint for painted siding
- Apply matching stain and sealant for natural or semi-transparent wood finishes
Touching up the repaired area not only improves curb appeal but also helps protect the wood from UV damage and moisture going forward.
Pro Tip: Even if you’re only fixing one board, inspect surrounding sections. If multiple boards are loose, warped, or faded, it might be time to consider a more comprehensive siding installation or upgrade.
What About Fiber Cement Siding?
Fiber cement siding is one of the most durable and low-maintenance siding options available today. It’s resistant to fire, insects, and rot, and offers excellent energy efficiency when installed properly.
Homeowners love it for its long-term performance and versatile design—it can mimic the look of wood siding, stucco, or even masonry, but without many of the typical drawbacks. That said, it does require a specific approach when it comes to repairs.
Here’s how we recommend handling loose or damaged fiber cement siding:
1. Inspect for Cracks, Breaks, or Gaps
Unlike vinyl siding, fiber cement isn’t flexible. So when a piece comes loose, it may also be cracked or chipped—especially if it was hit by debris or improperly nailed. Start by checking:
- Corners and edges for chipping
- Nail holes or cracks around fasteners
- Gaps between boards that may allow water to seep in
If you spot hairline cracks, sealing may be enough. But for larger cracks or full breaks, replacing the board is often the safer and more effective solution.
2. Use the Right Fasteners and Installation Technique
Fiber cement is much denser than wood or vinyl, so securing it properly takes a little more care:
Always pre-drill holes before nailing, especially near the edges, to prevent cracking.
Use corrosion-resistant nails (hot-dipped galvanized or stainless steel are ideal) to prevent rust streaks and ensure long-term hold.
Fasten boards into the framing behind the wall—don’t rely on just the sheathing for support.
Important Tip: Never use a nail gun for reattachment unless it's specifically designed for fiber cement. Manual hammering with care is the safer option for small-scale repairs.
When Should You Replace Instead of Repair?
A loose panel here and there isn’t the end of the world, but extensive damage or recurring issues might signal it’s time for a full replacement. Consider the following:
- You’ve repaired the same spots multiple times.
- You notice signs of rot, water intrusion, or mold.
- Your siding is more than 20–30 years old.
- You want to upgrade to more efficient siding options.
We often help homeowners compare their repair costs to the average cost of a new siding installation project. While labor costs and installation costs can vary depending on square footage, materials, and your region, a full upgrade can improve home value and reduce maintenance headaches.
For example:
- How much does it cost to install vinyl siding? Around $6,000–$15,000 for a standard-sized home.
- How much does it cost to install wood siding? Usually $7–$14 per square foot.
- How much does it cost to replace wood siding? If structural repairs are needed, total cost can rise significantly.
How We Can Help
At D&B Roofing, we’re more than just roofers—we’re full-service exterior pros. From new siding installation to fixing a single loose panel, we bring craftsmanship and customer care to every project.
We work with all materials, including vinyl, wood, and fiber cement, and can help you decide between repair and replacement based on your goals and budget.
We’ll walk you through your options, explain total costs, and make sure your windows and doors are sealed properly as part of any siding project.
Call the Siding Pros at D&B Roofing
If you’re dealing with loose siding—or thinking about upgrading altogether—we’re ready to help. Our experienced team delivers honest assessments, flawless craftsmanship, and siding solutions that last. Don’t wait until a small fix becomes a big issue.
Contact us today for a free inspection and quote!
Share this article